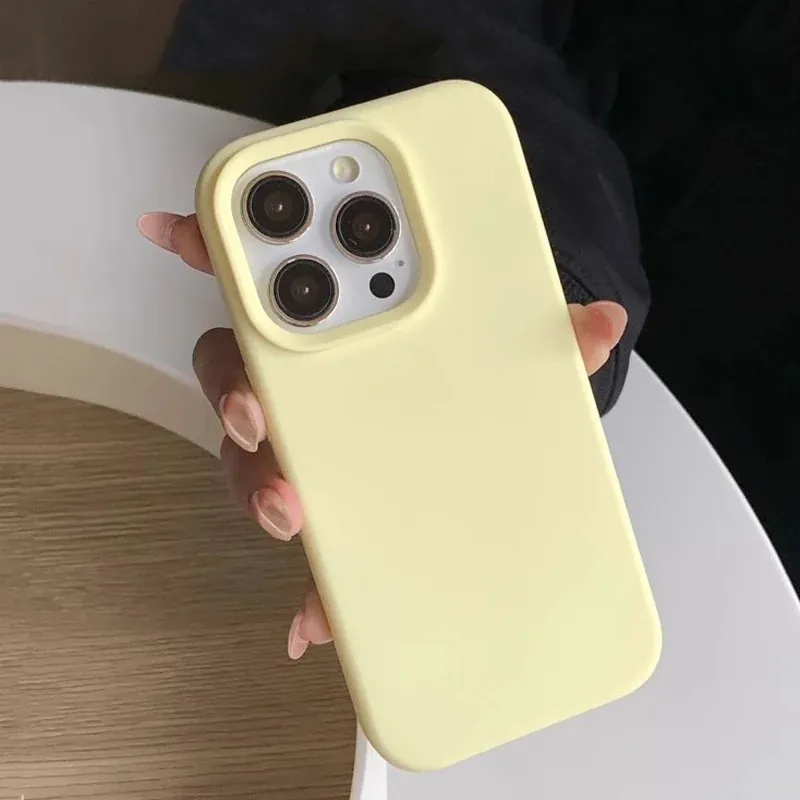
Most phone cases come off in less than a minute. The trouble starts when a case feels tight and you try to solve it by pulling from the camera opening, twisting the phone, or digging under the edge with a key. That puts pressure on the wrong places. A simple lower-corner method works for most flexible cases and gives you a chance to clean the phone, check the fit, or switch styles without turning a small task into a frustrating one.
Start with a soft surface and clean hands
Put a microfiber cloth, folded T-shirt, or clean towel on a table before you begin. This is mainly a safety net. If the phone or case slips, it lands on something forgiving instead of a hard countertop. A bed can work in a pinch, but a flat table makes it easier to keep the phone steady while you release the corners.
Wash or wipe off anything gritty from your hands first. Sand, crumbs, and small bits of debris are the real nuisance here. A case can trap grit along the rim, and dragging that grit across the back of the phone can leave fine marks. You do not need gloves or a special kit. Just make sure your hands and work surface are clean and dry.
Take a second to look at the case before you start. A flexible TPU or silicone case usually bends enough to release from a lower corner. A rigid shell, a case with a built-in stand, a wallet case, or a two-piece bumper may need a different approach. If the case has a clear seam, latch, or removable outer frame, use that feature first instead of forcing the whole case away from the phone.
Removing the phone before cleaning is also a good habit. Apple’s care guidance for its products recommends keeping moisture away from openings, so the phone should stay separate while you wipe down a case.
Step 1: Find the lower corner near the charging port
Turn the phone face down on the cloth, then hold it lightly in one hand. With your other thumb, press the edge of the case outward at one of the two lower corners near the charging port. You are not trying to bend the phone. You are only making a little space between the case lip and the phone’s corner.
The bottom corners are the best starting point for most flexible cases because the charging-port cutout leaves more room in the case frame. The camera end is usually more structured, and pulling there can put unnecessary pressure around the lenses or a raised camera rim. Start low, move slowly, and let the case do the flexing.
When the first corner clears the phone, keep it loose with your thumb instead of letting it snap back into place. Do not pull the corner far away from the device. A small release is all you need. If the case is very soft, the edge may roll out with gentle pressure. If it is firmer, use a slower rocking motion with your thumb along the lower edge.
Step 2: Release the second lower corner
Once one lower corner is free, move to the other lower corner and repeat the same motion. Keep the phone supported from the back with your palm. The goal is to have both bottom corners outside the case rim before you try to lift the phone out.
This order matters. Releasing only one corner and then pulling hard can twist the case around the phone. Releasing both corners first gives the phone a clear path out and keeps pressure away from the buttons, screen edge, and camera opening. It is especially helpful with snug silicone and TPU cases that are designed to wrap closely around the frame.
If the second corner feels stubborn, stop and reset your grip. Look for a spot where the case has a port or speaker cutout, then ease the rim away a few millimeters at a time. Do not use a knife, key, screwdriver, credit card, or metal tool to pry it open. Those shortcuts can scratch the phone, tear a case edge, or slip into a place they should not be.
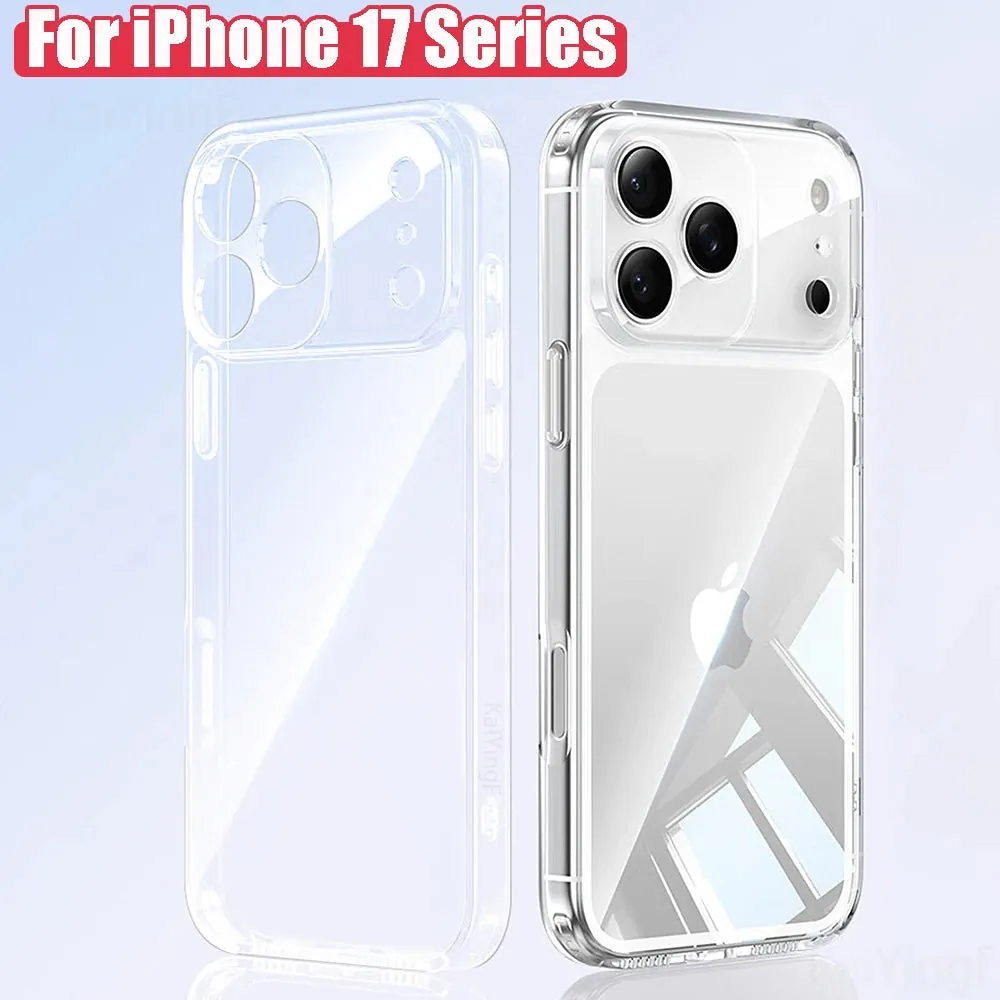
For thin clear cases, patience is better than force. The Ultra Thin Clear TPU iPhone Case is designed to stay close to the phone, so a gentle lower-corner release protects both the flexible edge and the phone’s finish.
Step 3: Lift the phone out from the bottom edge
With both lower corners free, tip the phone upward from the bottom. The top of the phone should slide out of the case rather than being pulled sideways. Keep one hand under the phone as it comes free. The process should feel controlled, not like a wrestling match.
When you get to the top edge, use your fingers to guide the case lip away from the phone instead of pulling from the camera cutout. The camera opening can be the stiffest part of a molded case. Treat it as the last part to release, not the handle you use to get started.
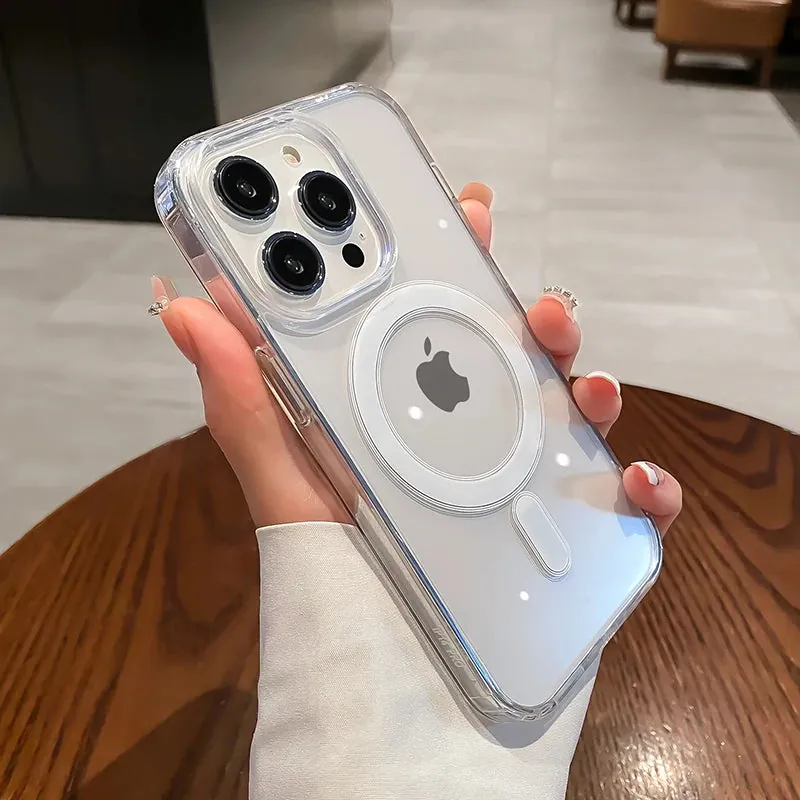
A magnetic case may feel slightly more structured because of the ring and reinforcement in the back. That does not mean it needs more force. The same lower-corner method still applies. For a case built around magnetic charging, such as the MagSafe Transparent iPhone Case, remove it with the case facing down and the phone supported so the frame does not twist.
Do not pull from the camera opening
It is tempting to hook a finger through the camera opening because it is easy to reach. Skip it. The cutout is shaped around the camera area, and pulling from there concentrates pressure on a small part of the case. On a rigid case, that can make the edge flex sharply. On a flexible one, it can stretch the rim more than necessary.
The same goes for side buttons. Button covers are meant to be pressed in, not pulled outward. Start from the lower edge where there is more room, then let the phone lift out in one calm movement. That is easier on the case and much easier on your hands.
If a case has a sliding camera cover, kickstand, ring, or wallet flap, fold or close the moving piece first. This keeps it from catching on your grip and gives you a clearer view of the actual case edge. A case that appears difficult to remove often just has an extra feature getting in the way.
What to do when a case is too tight
A snug fit is normally a good sign, but a case should not require brute force to come off. If you cannot release the first lower corner with your thumb, pause. Make sure the phone is on a padded surface, then press the case edge outward while supporting the phone from underneath. Work in short movements rather than one big pull.
Heat is not the answer. Do not warm the case with a hair dryer, set it in direct sun, or put it near a heater to make it softer. Heat can change the shape of some plastics, make a finish look uneven, or create problems you cannot see right away. A little time and a better hand position are safer than trying to speed the job up.
For a hard two-piece case, look for the manufacturer’s separation point. Many have a front frame that is designed to release before the back shell. For a battery case, waterproof case, or any accessory with a charging connection, use the maker’s instructions. Those designs can have latches, seals, or connectors that a standard flexible case does not.
If the rim has become brittle, cracked, or permanently stretched, do not keep forcing it back on. A loose case can collect more debris and will not hold the phone as securely. That is a practical time to browse the phone case collection for a fresh fit instead of asking an old case to do a job it can no longer do.
Use the moment to clean and check the fit
Once the phone is out, turn the case over and shake out any lint. Wipe the inside surface and the phone’s back with a clean dry microfiber cloth. If the case needs a deeper clean, follow the material-specific advice rather than treating every case the same. The clear case cleaning guide covers gentle washing for transparent cases, while the silicone case cleaning guide explains how to avoid a sticky soft-touch finish.
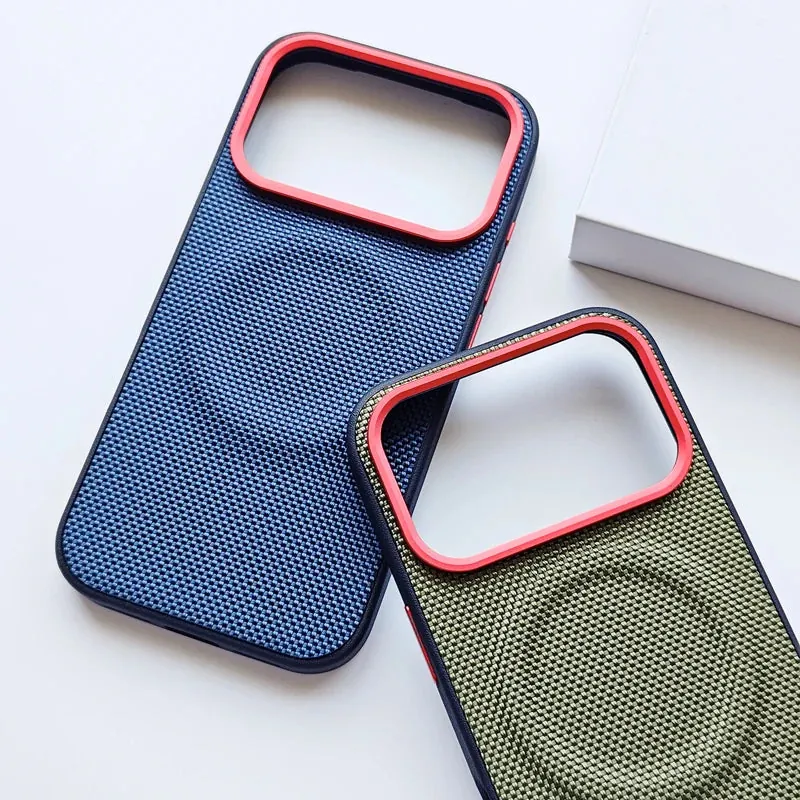
Look closely at the corners, button covers, camera opening, and charging-port edge. A good case should sit flat around the phone, with no corner lifting away on its own. The buttons should line up and press normally. The camera opening should be centered rather than rubbing against a lens. These are small checks, but they tell you more about everyday protection than a case’s color or pattern alone.
Leather and leather-look finishes deserve a dry microfiber wipe first, especially after a spill or day in a bag. The leather phone case cleaning guide explains why excess moisture and strong wipes are a poor match for those materials.
Put the case back on without trapping debris
Putting a flexible case back on is usually the reverse of removal. Start with the top edge and camera area aligned, then press the lower corners around the phone one at a time. Check that the rim sits evenly around the screen and that no lint or grit is trapped inside. A quick wipe first makes this part much less annoying.
Do not press down on the middle of the screen to seat the case. Use the edge around each corner, then run a finger around the frame to confirm the case is fully on. If one corner keeps lifting, the case may be stretched or the model may not be the exact match for your phone.
A fresh case should feel secure without making basic maintenance difficult. Snap & Grip carries flexible clear, silicone, leather-look, and magnetic styles, so you can choose the feel and charging compatibility that fit your routine. The Candy Color Frame Clear Back iPhone Case is a good option when you want a flexible bumper edge and a clear back, while the broader collection makes it easy to compare styles before replacing an older case.
A quick removal checklist
Use this short routine whenever you need to clean the phone, change cases, or check for wear:
1. Work over a soft, clean surface.
2. Start at one lower corner near the charging port.
3. Release the second lower corner before lifting the phone.
4. Let the phone slide out from the bottom edge.
5. Keep fingers away from the camera opening and avoid tools.
6. Wipe out lint, inspect the fit, and replace a case that no longer sits securely.
That is all most flexible cases need. A careful one-minute routine is easier on the phone, helps you spot a worn case early, and makes switching to a new style feel simple instead of risky.
FREQUENTLY ASKED QUESTIONS
Phone case removal questions
What is the easiest way to remove a phone case?
Start at one lower corner near the charging port. Gently ease that corner away from the phone, then release the second lower corner before lifting the phone out. This gives a flexible case room to move without forcing the camera area or bending the frame.
Can removing a phone case scratch my phone?
It can if grit is trapped between the case and phone, or if you use a metal tool to pry the case away. Remove the case with clean hands, work over a soft surface, and use only your fingers unless the case maker provides a specific removal tool.
Which corner should I remove first?
For most flexible cases, begin with a lower corner by the charging port. The bottom edge usually has more open space than the camera area, so it lets you loosen the case with less pressure on the phone.
What if my phone case is too tight to remove?
Stop pulling harder. Try again over a soft surface, release one lower corner at a time, and gently work around the edge. If the case uses a rigid two-piece frame, a built-in stand, or a wallet shell, check the maker’s instructions because its removal method may be different.
RELATED POSTS
Keep your case in good shape.
How to Clean a Silicone Phone Case Without Making It Sticky
Learn how to clean a silicone phone case with a damp microfiber cloth and avoid cleaners that can leave the finish sticky.
READ ARTICLE ↗
How to Clean a Clear Phone Case Without Damaging It
A gentle, practical method for removing everyday grime from a clear phone case, plus what to do when it starts to yellow.
READ ARTICLE ↗
How to Clean a Leather Phone Case
A careful, practical routine for cleaning genuine leather and leather-look phone cases without leaving the finish dry, dull, or damaged.
READ ARTICLE ↗